Upgrading your kitchen often comes down to the finishing touches. One of the most striking and practical additions you can make is installing a sleek, colourful glass panel to protect your walls. If you are planning a kitchen renovation or simply want to refresh your space, you might be asking yourself: how do you fit a glass splashback?
While the process might seem intimidating at first, fitting a glass splashback is entirely manageable with the right tools, careful preparation, and a bit of patience. Whether you want to tackle this project yourself or hire a professional, understanding the steps involved ensures a flawless finish. In this comprehensive guide, we will walk you through the complete kitchen glass splashback fitting process, from wall preparation to applying the final seal.
What Is a Glass Splashback?
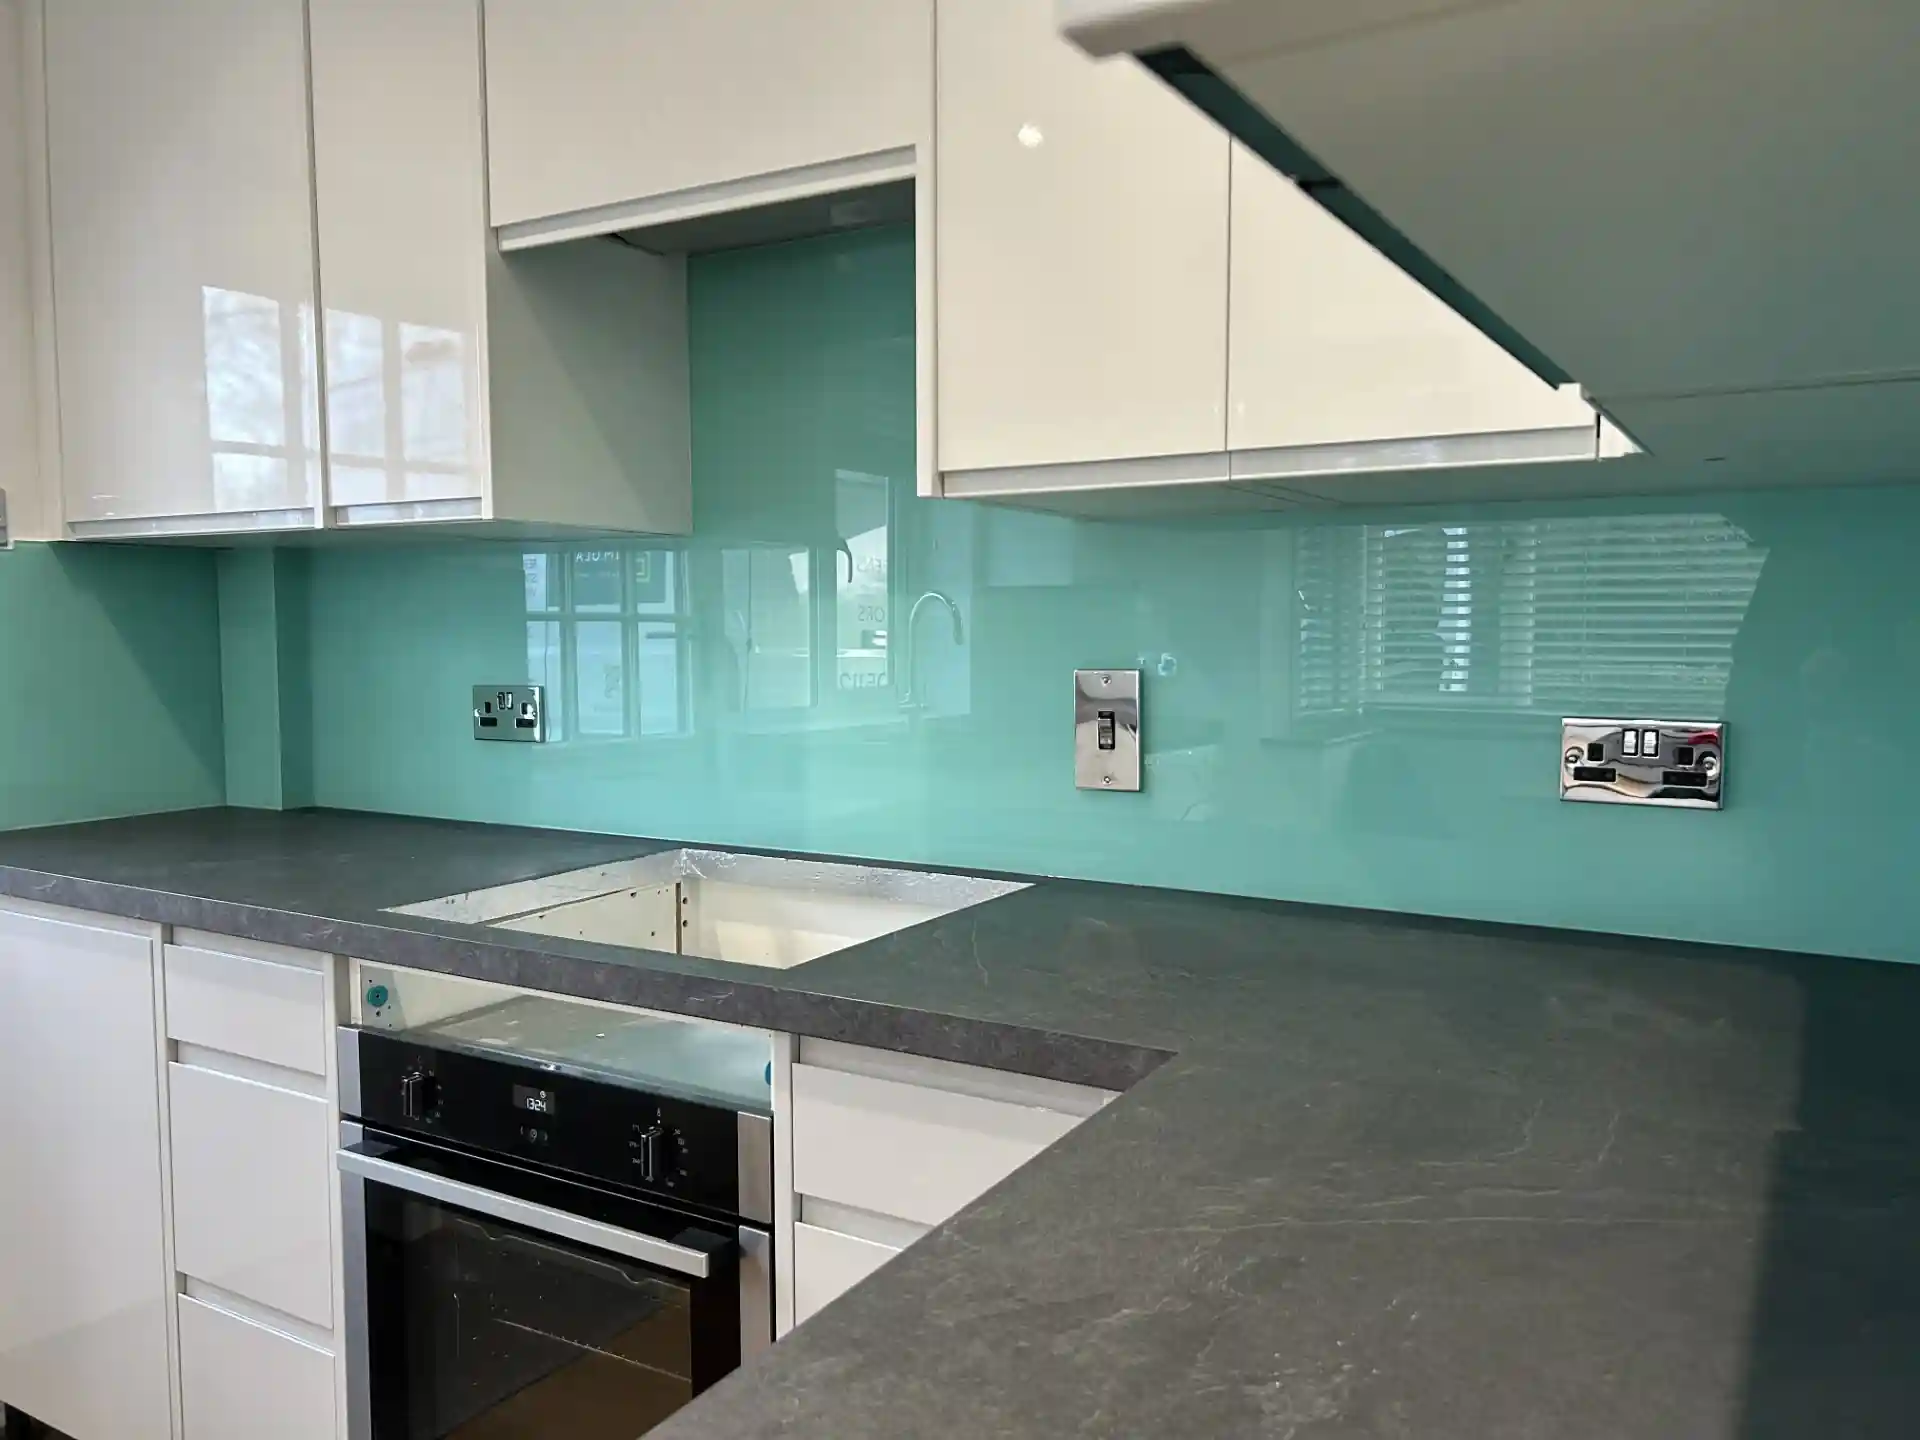
A glass splashback is a protective panel installed on kitchen walls, typically behind sinks, hobs, and food preparation areas. Its primary purpose is to shield the underlying wall from water damage, grease splashes, and cooking stains.
Beyond their practical use, modern kitchen splashbacks serve as a stunning design feature. They are available in an almost endless array of colours, finishes, and custom printed designs. Because they reflect light, they can also make smaller kitchens feel significantly brighter and more spacious. Most high-quality panels are made from toughened glass, ensuring they can withstand high temperatures and accidental impacts without shattering.
Tools & Materials Needed for Installation
Before you begin your DIY glass splashback installation, you need to gather the correct tools. Having everything within reach will make the process smooth and prevent the adhesive from drying out while you search for missing equipment.
Here is what you will need:
- Your custom glass splashbacks from IM Glass
- A high-quality, neutral-cure glass splashback adhesive (do not use standard decorators caulk or acidic silicone, as it can damage the painted backing)
- A heavy-duty caulking gun
- A tape measure
- A spirit level
- Masking tape
- Sugar soap and a clean sponge
- 2mm tile spacers
- Suction cups (highly recommended for lifting larger panels safely)
- Safety goggles and protective gloves
Preparing the Wall Before Installation
Proper preparation is the secret to a successful glass splashback installation. If the wall is uneven, damp, or greasy, the adhesive will fail to bond correctly, and the glass may sit crooked or eventually detach.
First, ensure the wall surface is completely flat. Remove any old tiles, nails, or peeling wallpaper. If you find deep holes or significant unevenness, fill these with a suitable wall filler and sand the area smooth once dry.
Next, clean the wall thoroughly. Kitchen walls accumulate grease over time, even if they look clean to the naked eye. Wash the entire installation area with sugar soap to remove any lingering grease, dust, or grime. Wipe it down with clean water afterwards and allow the wall to dry completely. Do not attempt installing kitchen splashbacks on a damp wall, as moisture traps will degrade the adhesive over time.
Step-by-Step Guide to Fitting a Glass Splashback
With your tools gathered and your wall properly prepped, you are ready to begin the installation. Follow these steps carefully to achieve a professional, secure finish.
Measure the Area Properly
The golden rule of DIY is always to measure twice and cut or order once. Before applying any adhesive, conduct a “dry run”. Lift the glass panel using suction cups if the panel is large or heavy and hold it against the wall in its final position.
Check that the panel fits perfectly around cabinets, worktops, and electrical sockets. Use your spirit level to ensure the panel sits perfectly straight. If you have multiple panels joining together, check how the seams line up. This dry run gives you a clear idea of how the glass will feel in your hands and confirms that your measurements are accurate before the messy work begins.
Clean and Prepare the Surface
We have already cleaned the wall, but you must also clean the back of the glass panel. Lay the glass face down on a soft, clean surface, such as a blanket or thick cardboard, to avoid scratching the front.
Gently wipe the painted back of the glass with a dry, lint-free cloth to remove any dust that may have settled during transit. Do not use chemical cleaners on the back of the panel, as they might react poorly with the glass splashback adhesive.
Apply the Adhesive Correctly
Choosing the right adhesive is critical. You must use a non-solvent, neutral-cure silicone adhesive specifically designed for mirrors and glass.
Load the silicone tube into your caulking gun. Apply the adhesive to the back of the glass in large blobs roughly the size of a £2 coin. Space these blobs about 10 centimetres apart in a grid pattern. Keep the adhesive at least 3 to 5 centimetres away from the edges of the glass. If you place the silicone too close to the edge, it will squeeze out onto your worktops and walls when you press the glass into place, creating a messy cleanup job.
Position the Glass Splashback
Carefully lift the panel, keeping the adhesive side facing the wall. If the panel rests directly on a worktop, place 2mm tile spacers along the bottom edge to create a small expansion gap. This gap allows for natural movement and prevents the glass from cracking under pressure.
Gently push the bottom of the glass into place first, resting it on the spacers, and then tilt the top section towards the wall. Once the panel is in position, press firmly across the entire surface of the glass. Use a clean, dry cloth to push against the glass, applying even pressure to spread the adhesive blobs behind the panel. Use your spirit level one last time to ensure everything is perfectly straight.
Allow Time for Drying
Resist the temptation to touch or move the glass once it is correctly positioned. The adhesive needs time to cure properly. Leave the glass completely undisturbed for at least 24 hours.
Once the adhesive has fully set, carefully remove the 2mm spacers from the bottom edge. You can now seal the perimeter of the splashback. Run a smooth, continuous bead of clear or colour-matched silicone sealant along the edges where the glass meets the worktop, cabinets, and walls. This final seal prevents water and dirt from getting behind the panel.
Common Glass Splashback Installation Mistakes to Avoid
Even enthusiastic DIYers can stumble during glass splashback installation. Here are a few common pitfalls to watch out for:
- Using the wrong adhesive: Standard bathroom silicone often contains solvents or acids that will eat away at the painted backing of your glass, leaving ugly, visible marks. Always use neutral-cure silicone.
- Skipping the dry run: Realising a panel does not fit after you have covered it in strong adhesive is a stressful, expensive mistake.
- Forgetting the expansion gap: Glass naturally expands and contracts slightly with temperature changes. Without a 2mm gap at the base, the pressure against a hard worktop can cause the glass to crack.
- Ignoring socket cutouts: Cutting toughened glass yourself is impossible without shattering it. Any cutouts for plug sockets must be precisely measured and cut by the manufacturer before the glass is toughened.
DIY vs Professional Glass Splashback Installation
Knowing how to fit a glass splashback yourself is incredibly empowering, but DIY is not always the best route for every project.
If you are installing a relatively small, rectangular panel behind a sink or cooker, the DIY approach is highly rewarding and cost-effective. However, if your kitchen requires large panels, multiple complex socket cutouts, or awkwardly shaped corners, hiring a professional is usually the smartest choice.
Professionals have the experience to handle heavy, unwieldy panels safely. They also possess specialised laser-measuring tools to ensure complex shapes fit perfectly around your kitchen units. If you are unsure whether your project is suitable for DIY, the expert team at IM Glass is always happy to advise you or arrange professional fitting services.
Why Toughened Glass Is Important
When shopping for modern kitchen splashbacks, you will frequently see the term “toughened glass.” You should never install standard, non-toughened glass in a kitchen, especially behind a heat source.
Toughened glass undergoes a rigorous thermal treatment process. It is heated to incredibly high temperatures and then rapidly cooled. This process makes it up to five times stronger than regular glass. More importantly, it creates exceptional heat resistance.
Heat resistant splashbacks are vital behind gas or electric hobs where temperatures fluctuate wildly. Standard glass would easily crack under this thermal stress. Additionally, if toughened glass does ever break under extreme force, it shatters into small, blunt chunks rather than dangerous, jagged shards, keeping your family safe.
Benefits of Glass Splashbacks
Choosing glass over traditional tiles or stainless steel offers a wealth of advantages for your home.
Easy to clean
Say goodbye to scrubbing grimy grout lines with an old toothbrush. Glass provides a completely seamless surface. A quick wipe with a microfibre cloth and a standard glass cleaner is all it takes to keep your kitchen looking immaculate.
Heat resistant
As mentioned, toughened glass easily withstands the intense heat generated by busy cooking areas, ensuring your walls remain protected and the panel remains intact.
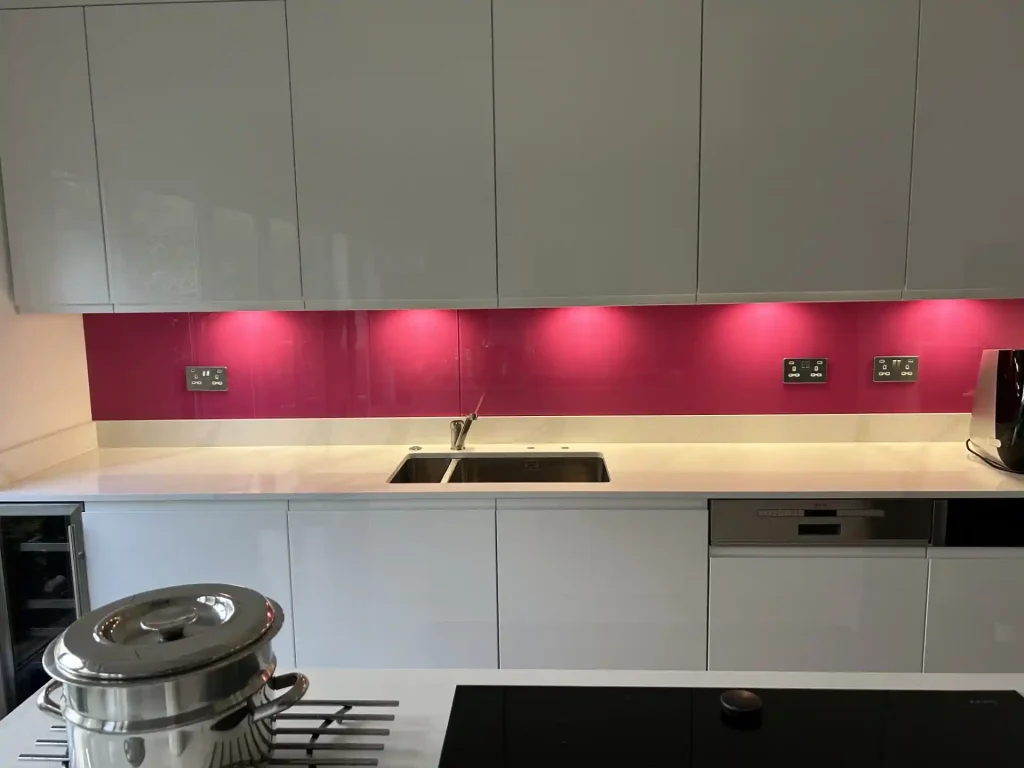
Stylish appearance
Glass inherently reflects light, brightening up dark corners and making your kitchen feel larger. With custom colour matching and printed designs available, you can create a truly bespoke focal point for your home.
Hygienic surface
Because glass is non-porous, it does not harbour bacteria, mould, or mildew. This makes it one of the most hygienic materials you can choose for food preparation areas.
Durable and long-lasting
While tiles can chip and paint can fade or blister, high-quality glass splashbacks maintain their vibrant appearance for decades. They resist scratches, stains, and impact, offering incredible value for money over their lifespan.
Why Choose IM Glass for Glass Splashbacks?
At IM Glass, we believe your kitchen deserves the highest quality materials and a flawless finish. We specialise in crafting premium, custom glass splashbacks tailored precisely to your unique specifications.
Whether you want a vibrant pop of colour, a subtle neutral tone, or a complex printed design, our cutting-edge manufacturing processes deliver exceptional results. All our splashbacks are created using top-tier toughened glass, ensuring ultimate safety and durability in your home. Our dedicated team is ready to support you, from providing accurate measuring guides to delivering your pristine panels safely to your door.
Final Thoughts
Learning how do you fit a glass splashback reveals that the process is highly achievable with preparation, the right tools, and a methodical approach. By measuring carefully, using the correct neutral-cure adhesive, and taking your time during positioning, you can achieve a professional-looking installation that instantly elevates your kitchen’s aesthetic.
FAQs
1. Is it difficult to fit a glass splashback yourself?
Fitting a straightforward, rectangular glass splashback is a very manageable DIY project. As long as you measure accurately, prepare the wall thoroughly, and use the correct adhesive, most homeowners can complete the installation with excellent results. For large panels or those with complex cutouts, professional installation is recommended.
2. What is the best glass splashback adhesive to use?
You must exclusively use a neutral-cure, non-solvent silicone adhesive. Standard caulks or acidic bathroom silicones will react with the paint on the back of the glass, causing visible discolouration and damage from the front.
3. Do I really need a toughened glass splashback in my kitchen?
Yes, absolutely. Toughened glass is thermally treated to withstand high temperatures, making it safe to use behind hobs and cookers. Standard glass will easily crack under the heat stress of normal cooking. Toughened glass is also highly impact-resistant.
4. How long does kitchen splashback installation take?
The physical installation of the panel usually takes less than an hour. However, the preparation work, such as cleaning and levelling the wall, can take longer. After fitting, you must also allow 24 hours for the adhesive to cure fully before applying the final edge sealant.
5. Can I order custom glass splashbacks with cutouts for plug sockets?
Yes. High-quality suppliers like IM Glass will precisely cut holes for electrical sockets, switches, and curved range cookers before the glass undergoes the toughening process. You cannot cut or drill toughened glass yourself after it has been manufactured.